Use Razer Peripherals on macOS Big Sur with Razer Synapse
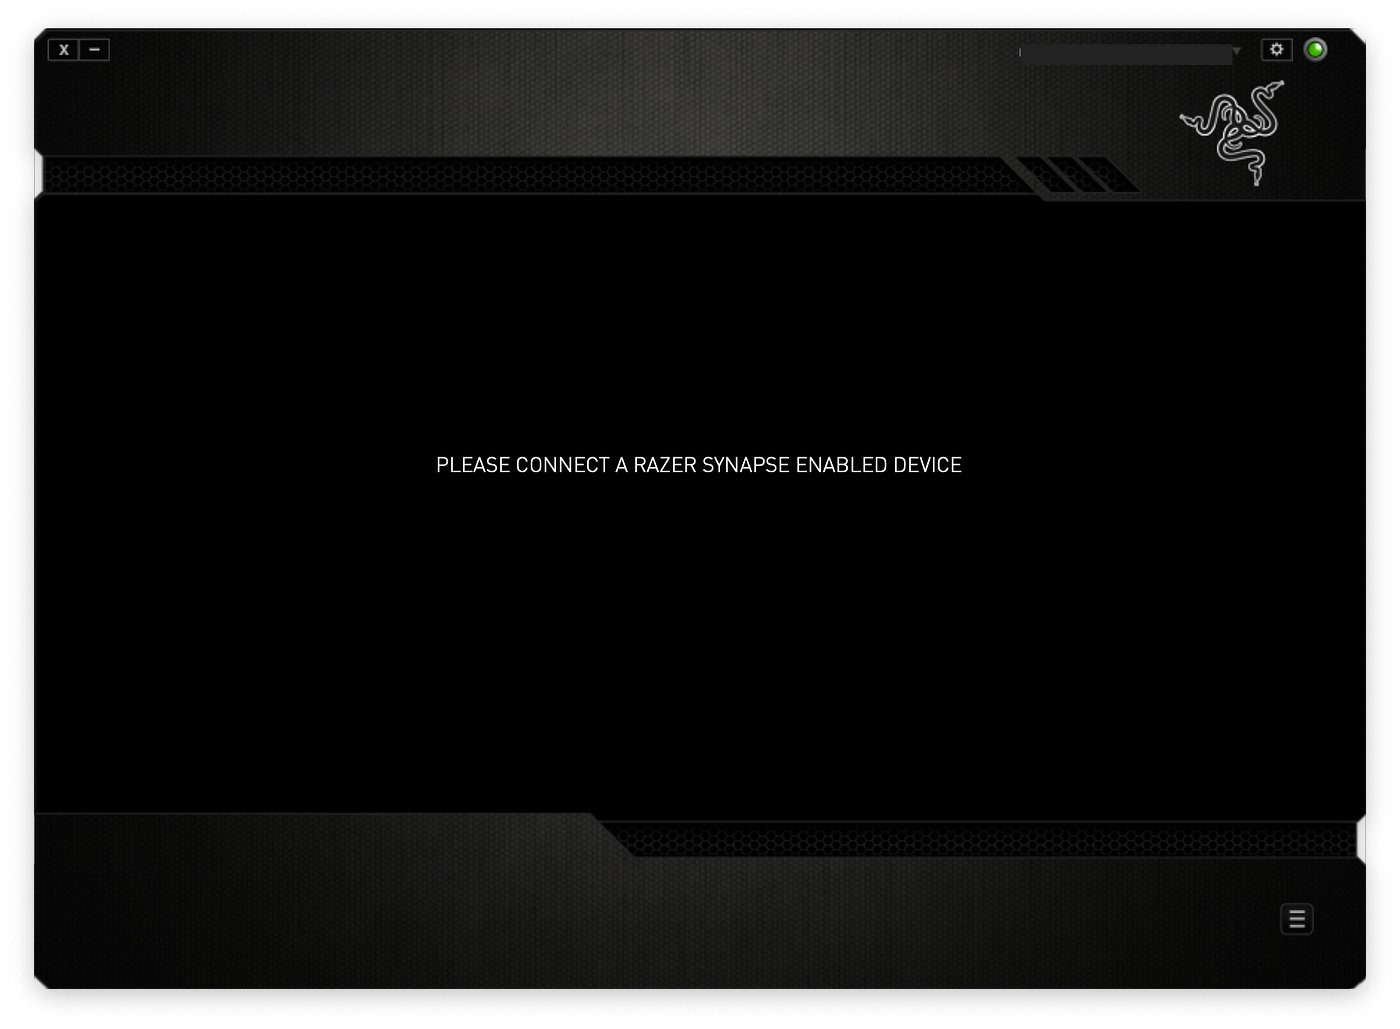
If you install Razer Synapse on Big Sur, you’ll notice no devices will be detected and you can’t configure them. Here’s how to fix that.
Why is it not working anymore?
With macOS Big Sur, Apple pushed towards security again. As is often the case with security, the OS got more restrictive by default only allowing signed kernel extensions from allowed developers to be installed. Razer Synapse has not been updated yet to incorporate this — therefore Big Sur will block the kernel extension which is responsible for the interaction with Razer devices.
How to fix
What we’ll need to do is add Razer to the allowed developers for kernel extensions — we’ll basically add the Razer ID (R2H967U8J8) to the list of allowed kernel extension developers.
- Boot into recovery mode (Restart your mac and hold ⌘+ R during startup. (Command + R)
- Go to Utility → Terminal
- Type “/usr/sbin/spctl kext-consent add R2H967U8J8” and press Enter
- Type “/usr/sbin/spctl kext-consent list” and press Enter
When executing the command, you’ll see a list of Allowed Team Identifiers in the terminal. Make sure the Razer ID (R2H967U8J8) is inside this list. Afterwards, just reboot your machine (you can execute ‘reboot’ in the terminal).
Now, as you are in your normal Big Sur, we’re going to load the kernel extension. This automatically happens if you install Razer Synapse, but if it’s already installed, you’ll need to directly load the kernel extension yourself.
- Open the Terminal (⌘ + Space → “Terminal”)
- Enter “sudo kextload /Library/Extensions/RazerHid.kext” and press Enter
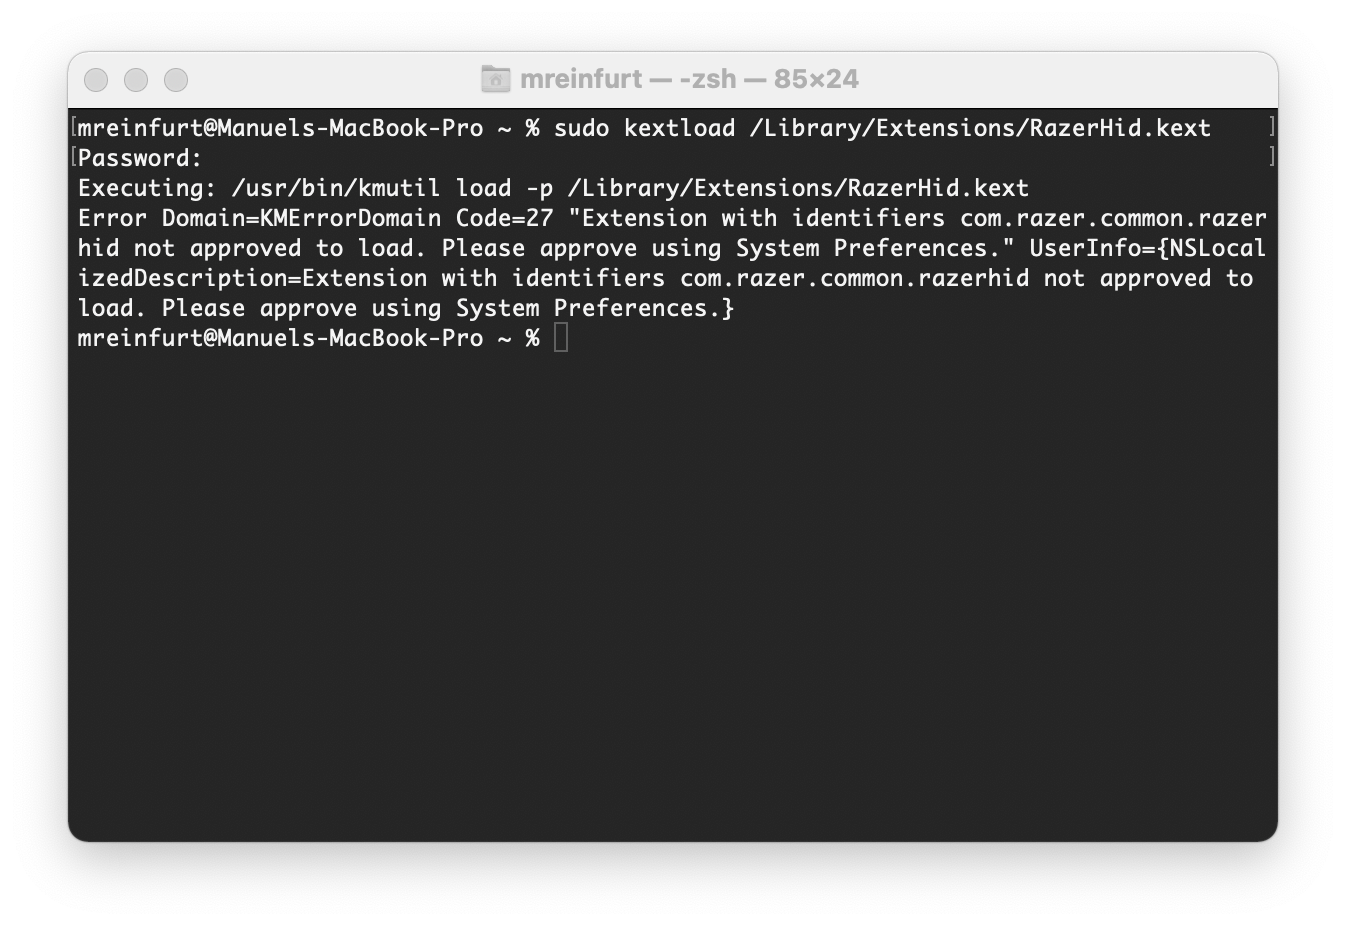
An error will show up, saying the kext is not approved to load and you should approve so in System Preferences. Additionally, a popup should tell you that a System Extension has been updated and you’ll find a button to go Security Preferences directly.
Inside System Preferences → Security & Privacy, you will need to unlock the settings by clicking on the lock icon in the bottom left. Enter your user credentials and you’re ready to approve the kernel extension. There should be a note at the bottom where you can click “Open Anyway”.
You might need to reboot again. Afterwards, just launch Razer Synapse, connect your device. It should now be detected and everything should be working!
Additional fix
If you have trouble with allowing the extension and the “allow” button does not appear, you might need to disable System Integrity Protection. SIP is a security-measure to protect system critical files and can be disabled in recovery mode.
- Boot into recovery mode (Restart your mac and hold ⌘+ R during startup. (Command + R)
- Go to “Utility” → Terminal
- Type “csrutil disable” and press Enter
- Type “reboot” and press Enter
Please note that SIP is there because it is useful. By disabling it, you might allow apps to tamper with files they should not tamper with.
Alternatives to try
In case none of the above works, there are some open source alternatives for Razer drivers on macOS. I haven’t tried them — but maybe they work. If you need more explanation on how to install and use them, let me know!
FruityUI
FruityUI is an open source application which is based on open-source Razer drivers for macOS. It supports a lot of different Razer keyboards, mice and some accessories. You can view the full list here.
View & Download at https://github.com/FruityRazer/FruityUI
Razer macOS
Razer macOS is a open-source color effects manager for Razer devices. It also supports a lot of Razer mice, keyboards and accessories.
View & Download at https://github.com/1kc/razer-macos
I hope any of these tips helps you and enables you to use your Razer devices properly on your Mac. :)
